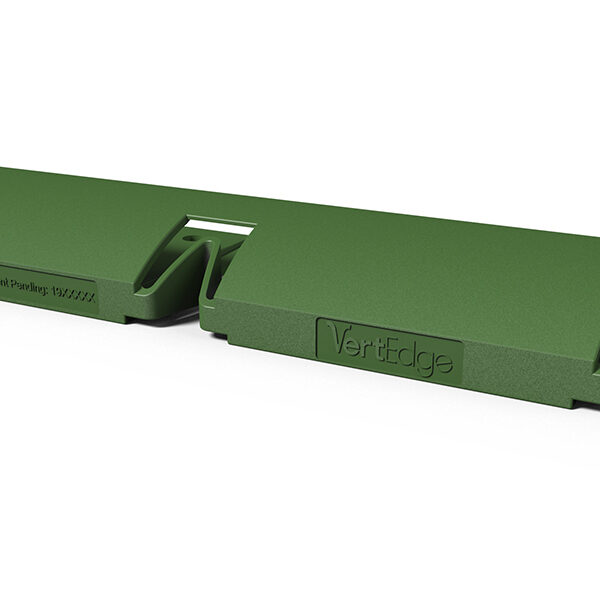
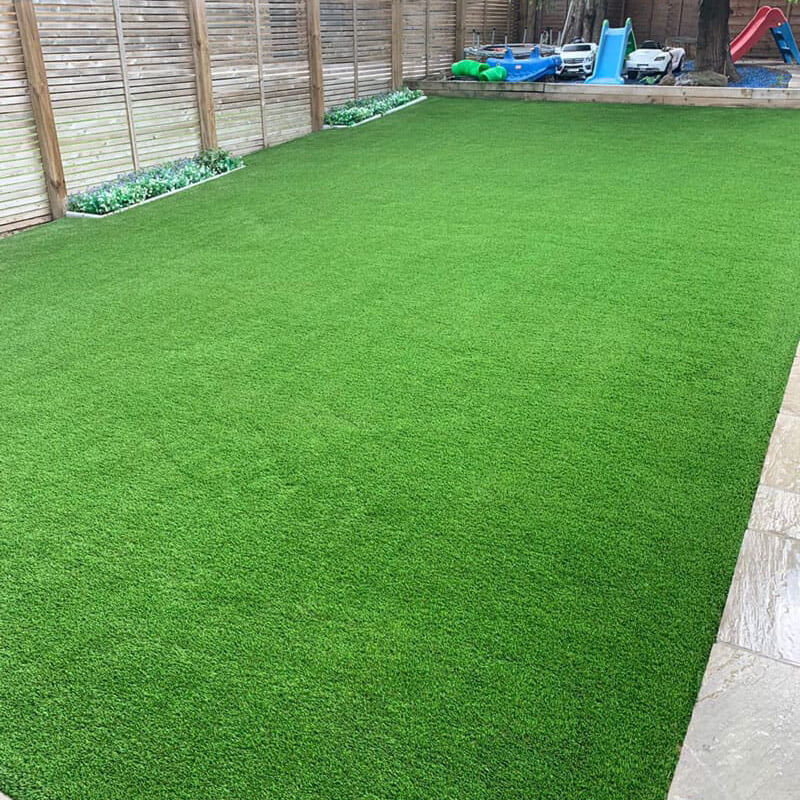
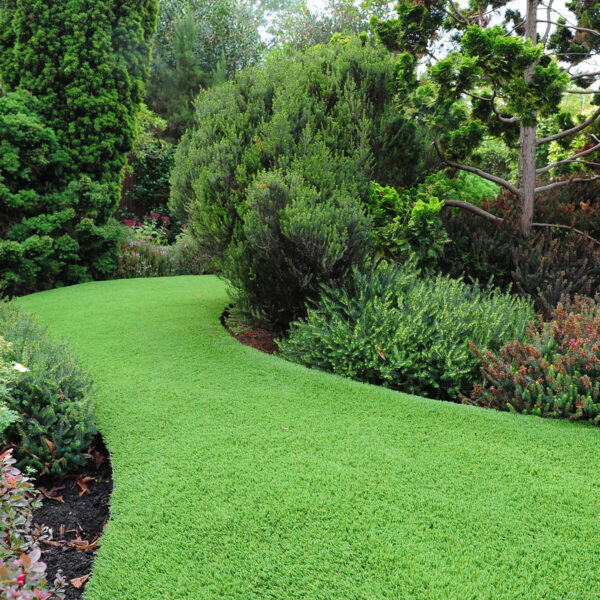
VertEdge® is a revolutionary edging system used to secure artificial grass, by 100% fully adhering the perimeter finish of the artificial grass (the only product on the market to do so). This solves the problem of existing methods where edges can lift up and become a trip hazard as they are not secured strong enough to the ground.
How To Secure Your Artificial Grass Using VertEdge
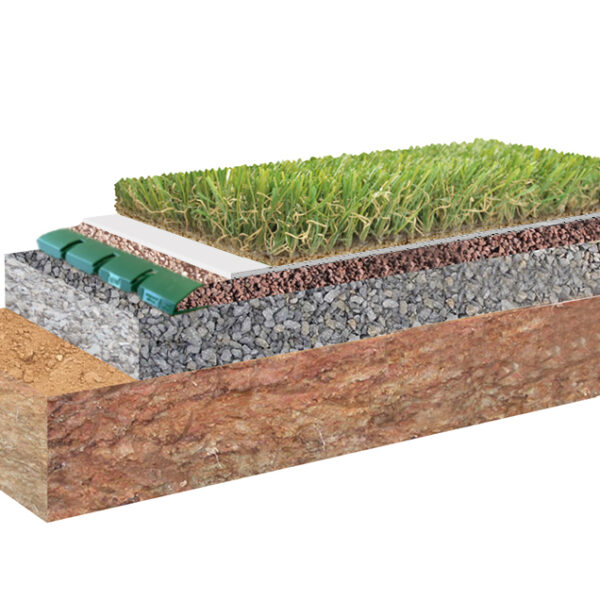
Once the Type 1 MOT base is compacted with the correct perimeter finish depth, VertEdge is ready to be installed. The installation instructions for this are below.
VertEdge can also be installed using quick set cement around the perimeter of the area, click here to view this method.
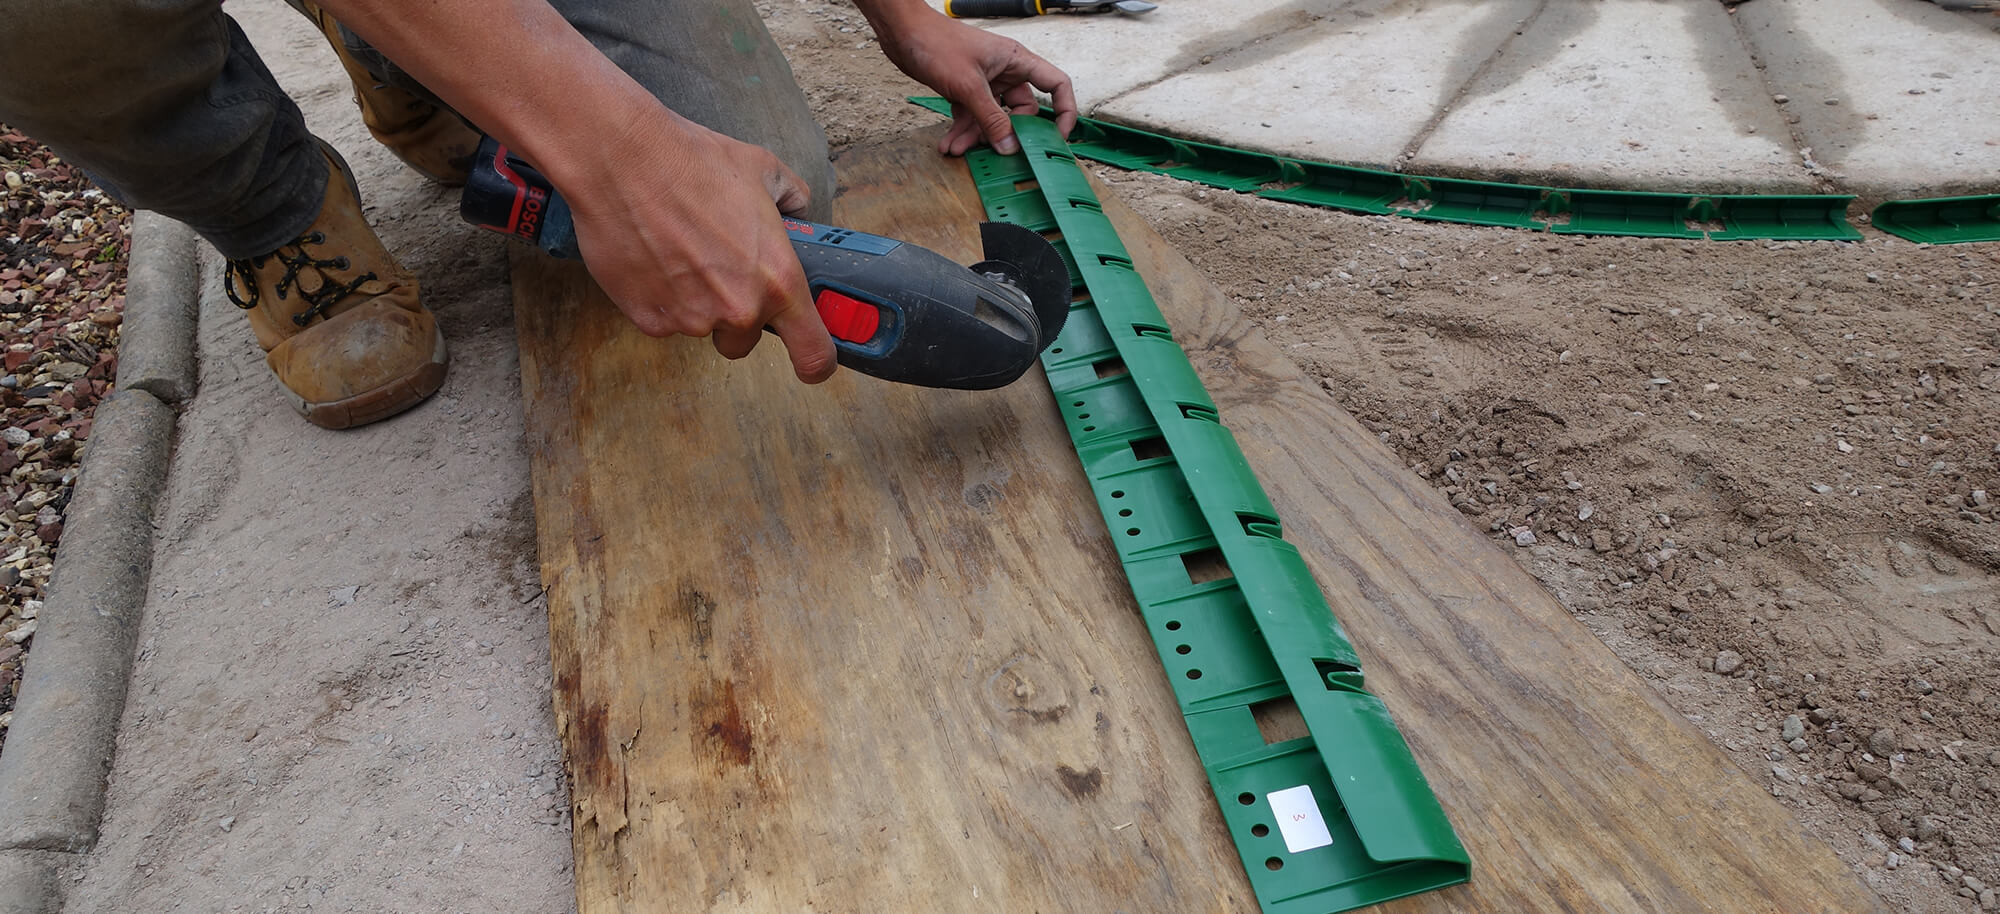
Step One: Cutting the VertEdge
Starting from the corners, cut & mitre Vertedge using a hacksaw and a mitre box or a multi tool with a plastic segmented blade, always start from a corner working towards the centre of a side, then cut Vertedge once the 2 pieces meet.
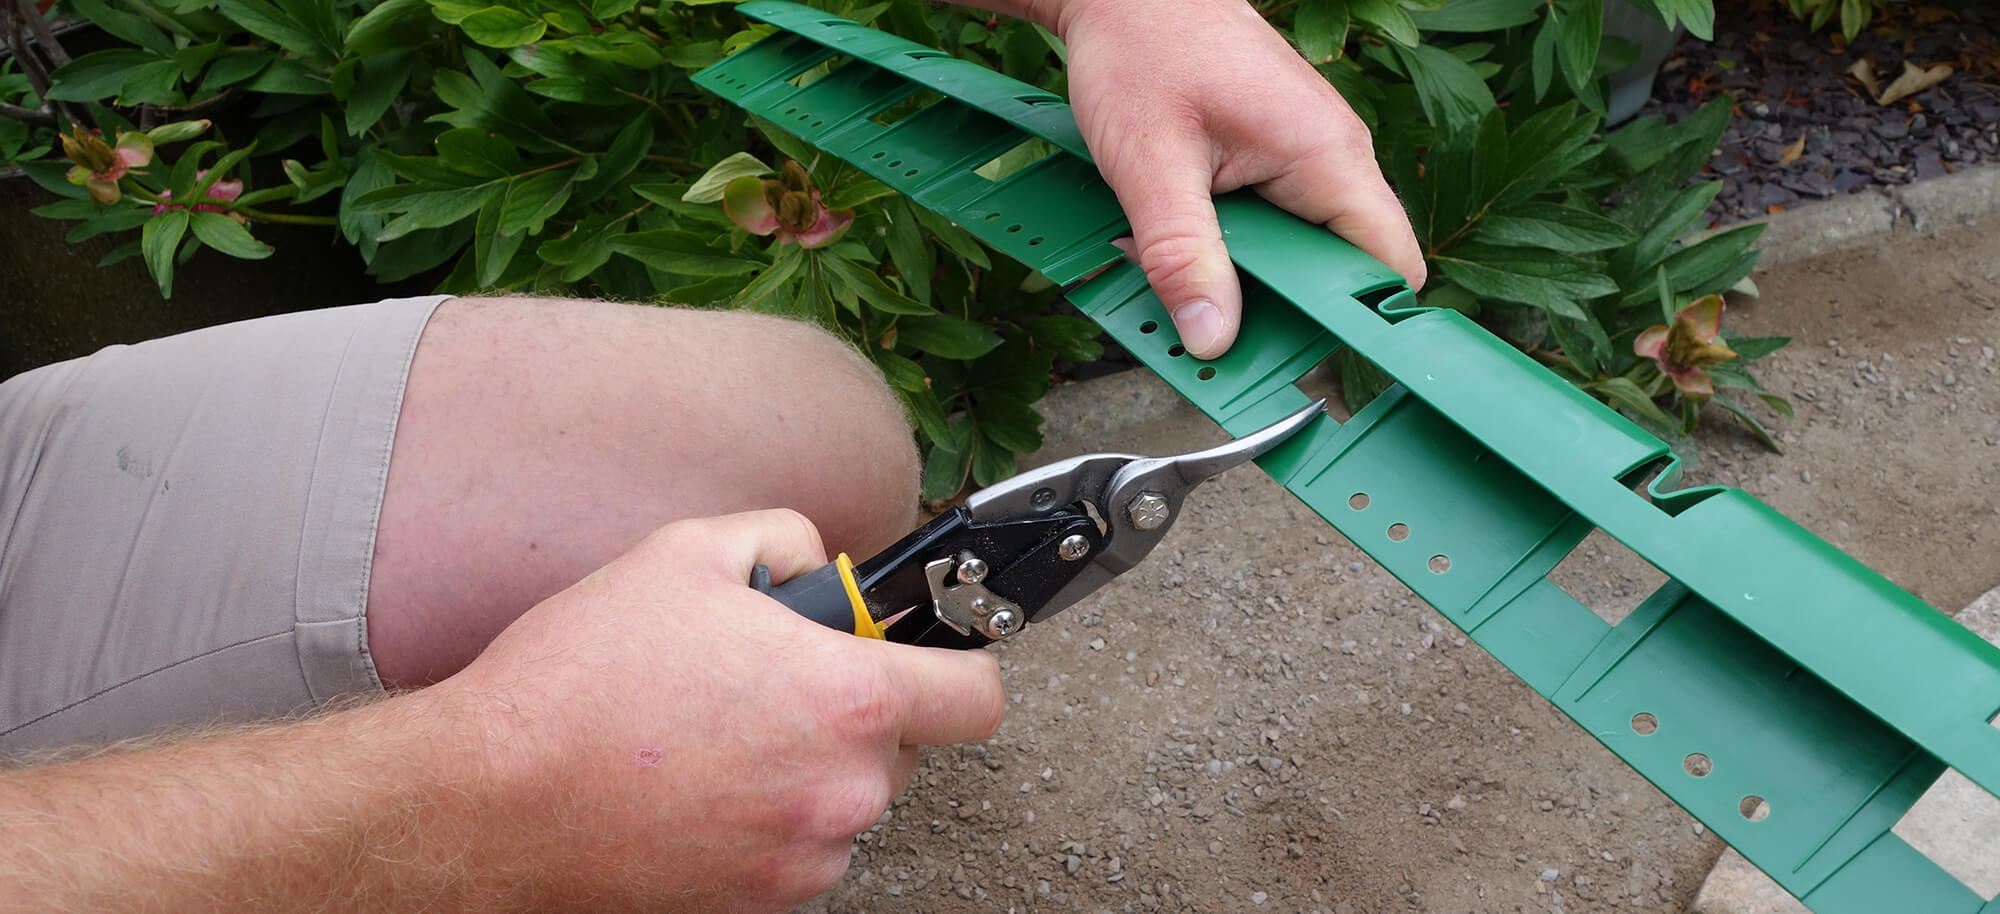
When installing Vertedge up to a curved finish, simply cut out the thinned-out tabs/sections in front of the V hinge with sharp tin snips. This will allow Vertedge to form to any curve/radius required in order to fully secure the artificial grass, no matter it’s shape. Take out the tabs as required to suit each curve/radius.
Step Two: Fixing VertEdge to the Base
Set Vertedge around 10mm away from the perimeter edge, again depending on the artificial grass thickness.
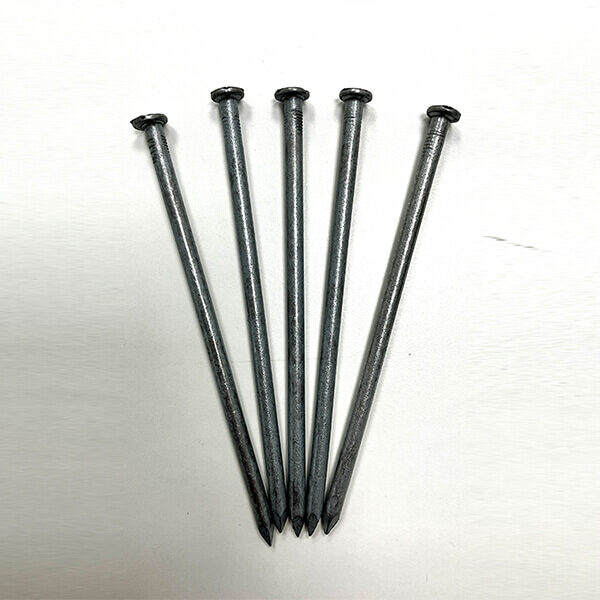
Fix Vertedge using 75mm – 150mm galvanised round head nails (deeper for soft ground) through the fixing holes as required.
Optional: subject to ground conditions – apply a dry mix of cement at perimeters mixed with type 1
Step Three: 6mm to dust granite
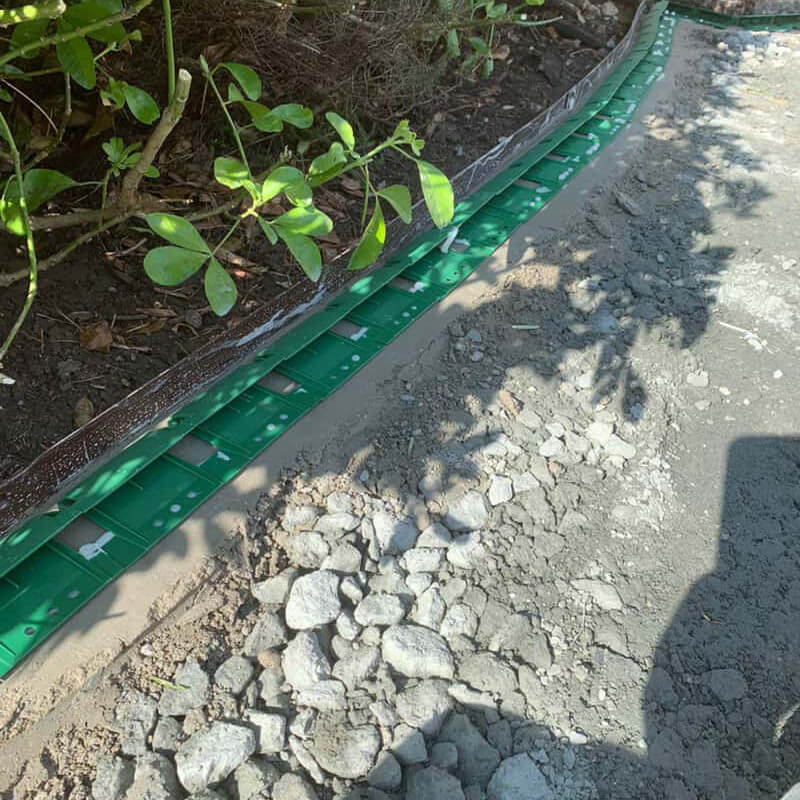
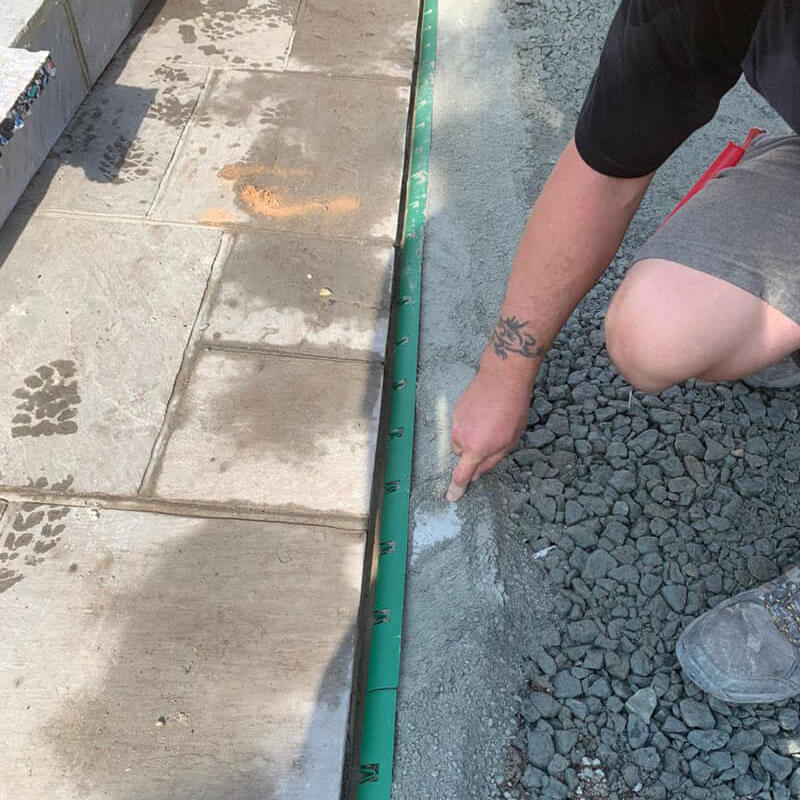
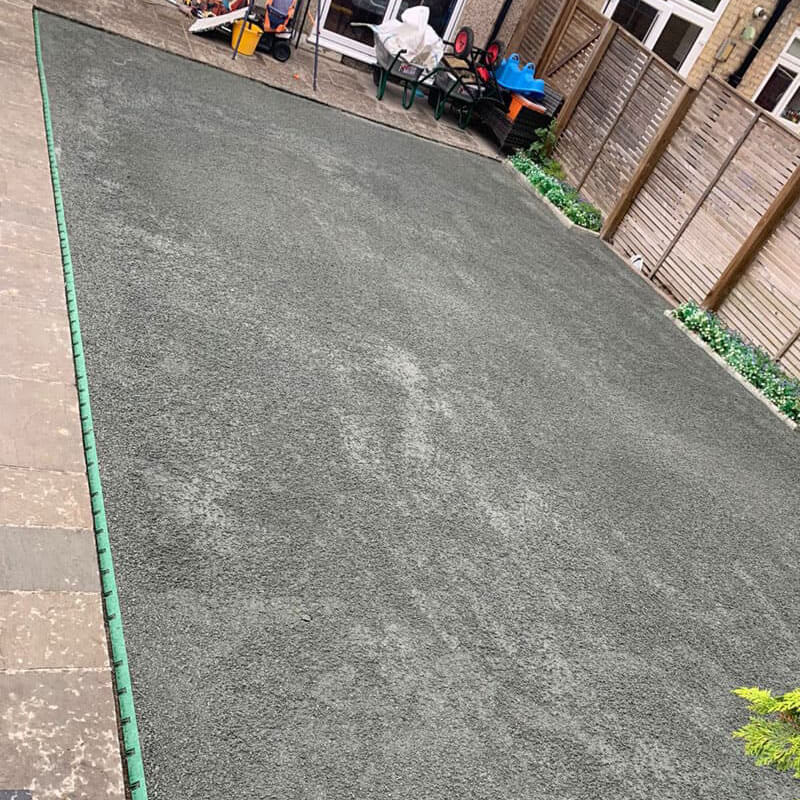
Once Vertedge has been installed around the perimeter of the area, proceed to apply the 6mm to dust granite layer.
Rake out the granite over the entire area pushing the granite stone in to the Vertedge cavity, it is recommended to mix cement dust with the granite stone (ratio 4:1) for the section covering the base of Vertedge (around 100mm from the cavity) bringing the dry granite mix flush with the back of Vertedge leaving the top section exposed.
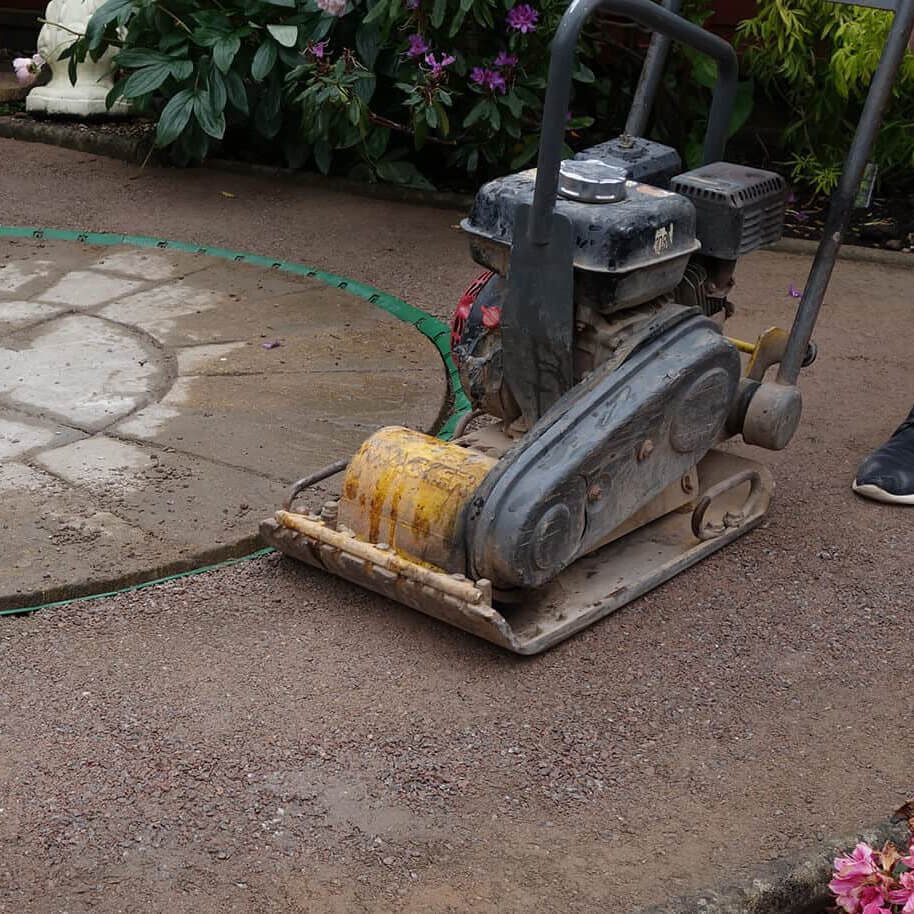
Compact the granite. More granite may need to be applied once compacted to ensure the granite is flush with the back edge of Vertedge and fully secured.
Step Four: Weed Membrane
Install non-woven weed membrane over the granite.
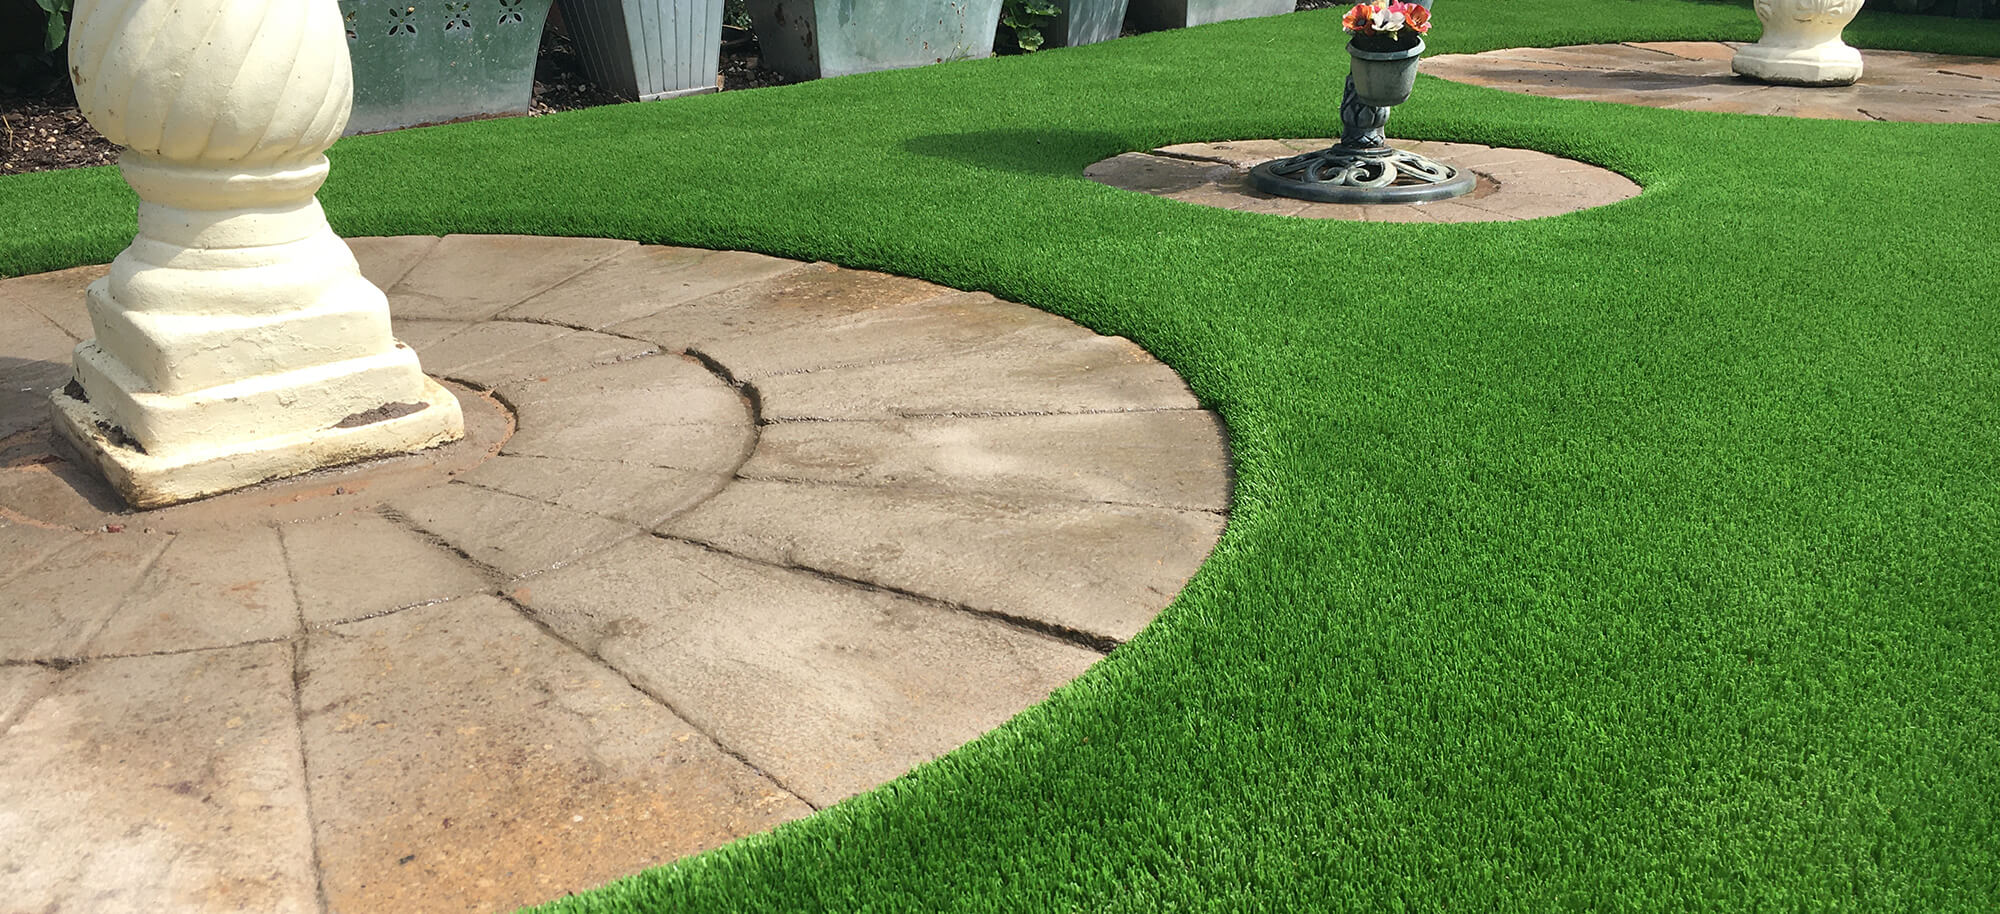
The artificial grass is now ready to be installed & secured.
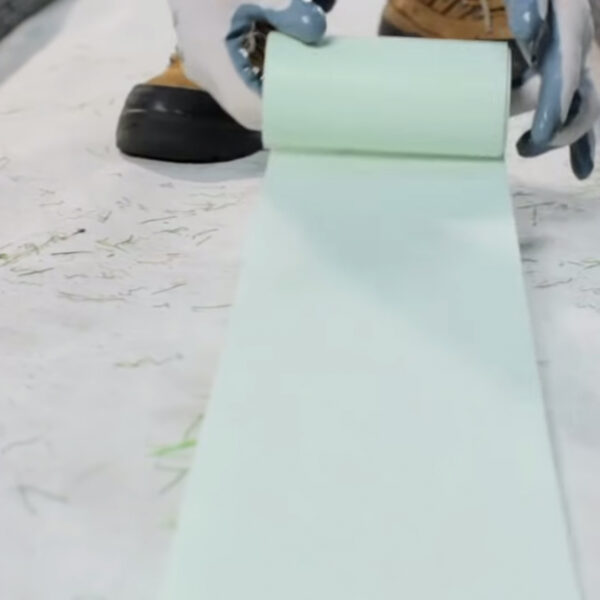
Step Five: Lay out the artificial grass
Lay out the artificial grass and leave to relax.
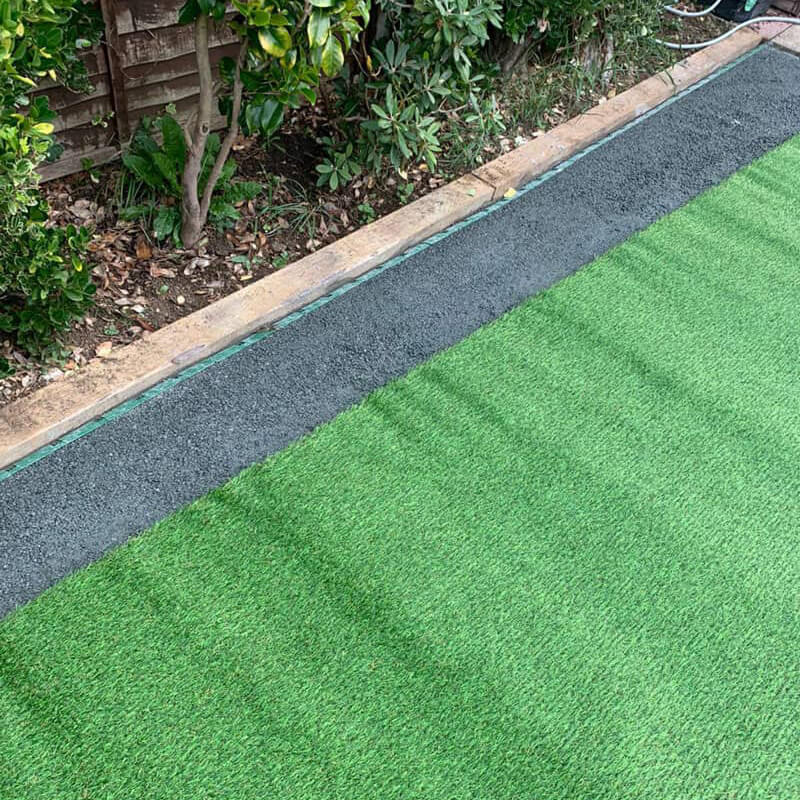
Cut the artificial grass around 5-10mm over the finish edge/fence/wall etc.
Once the artificial grass has been cut around the whole area, carefully pull back the grass around 300mm away from the Vertedge.
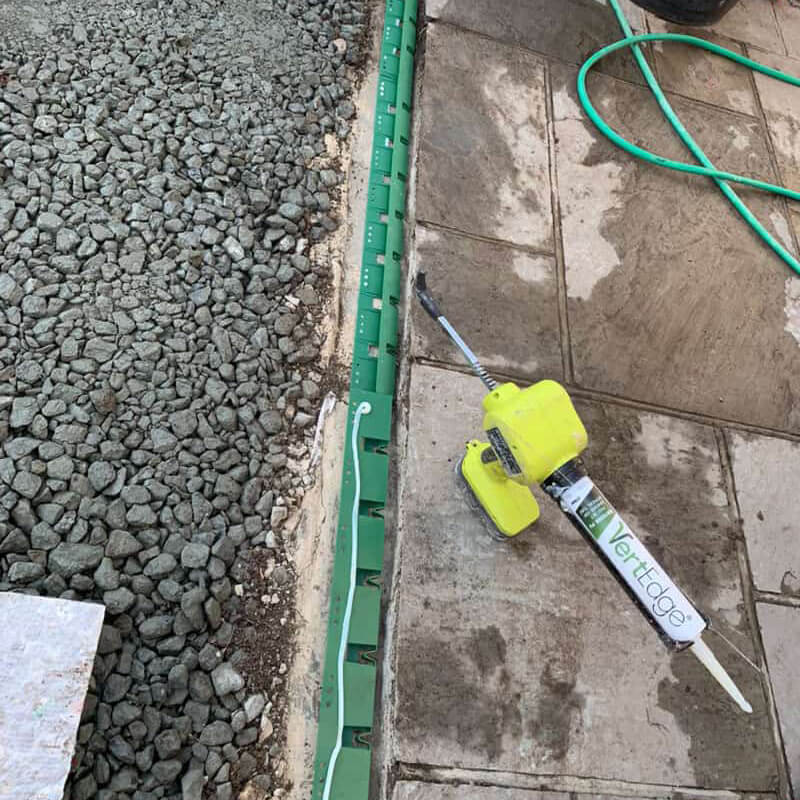
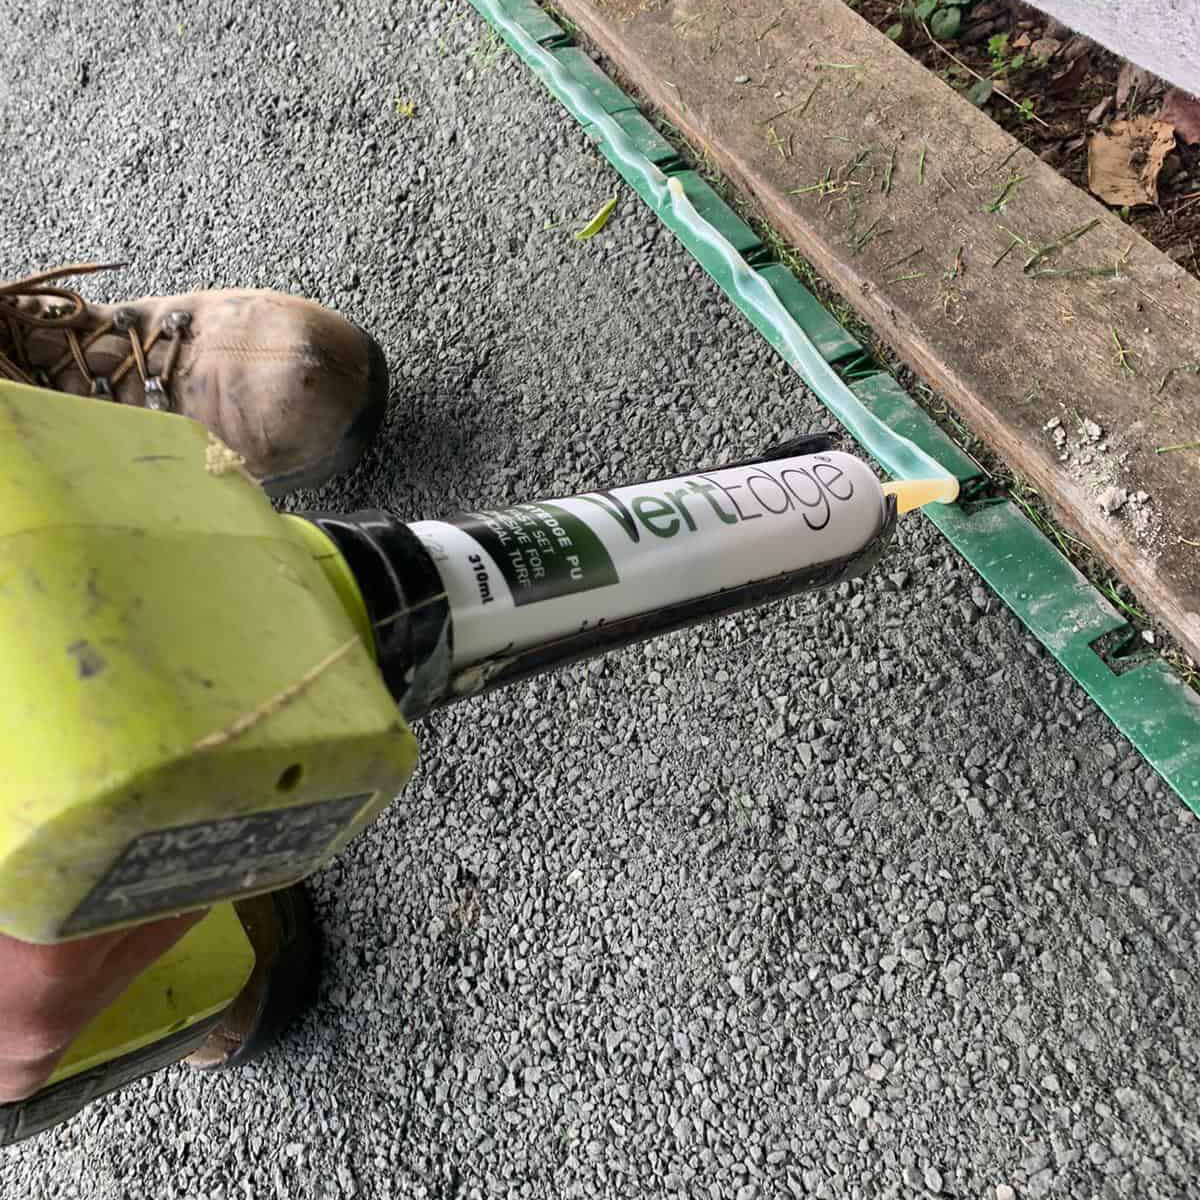
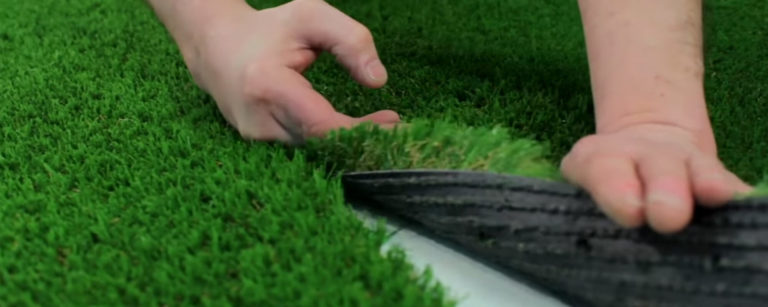
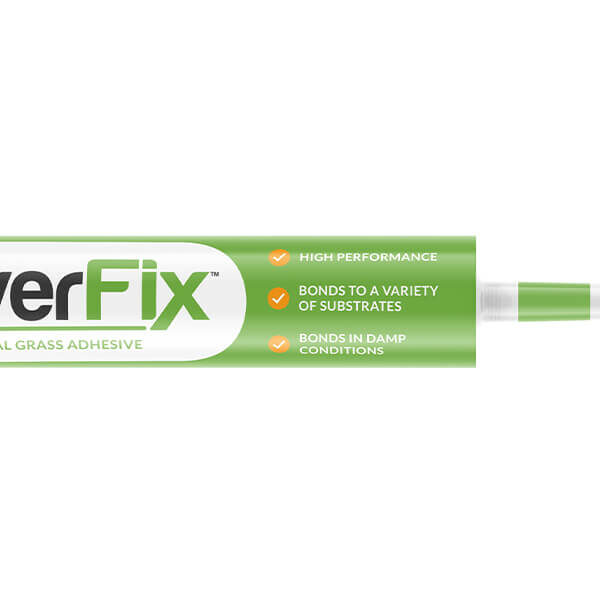
Step Six: Apply VertEdge Adhesive
Using the specialist Vertedge adhesive, apply a 3-5mm bead of adhesive on the exposed top section of Vertedge around the whole area.
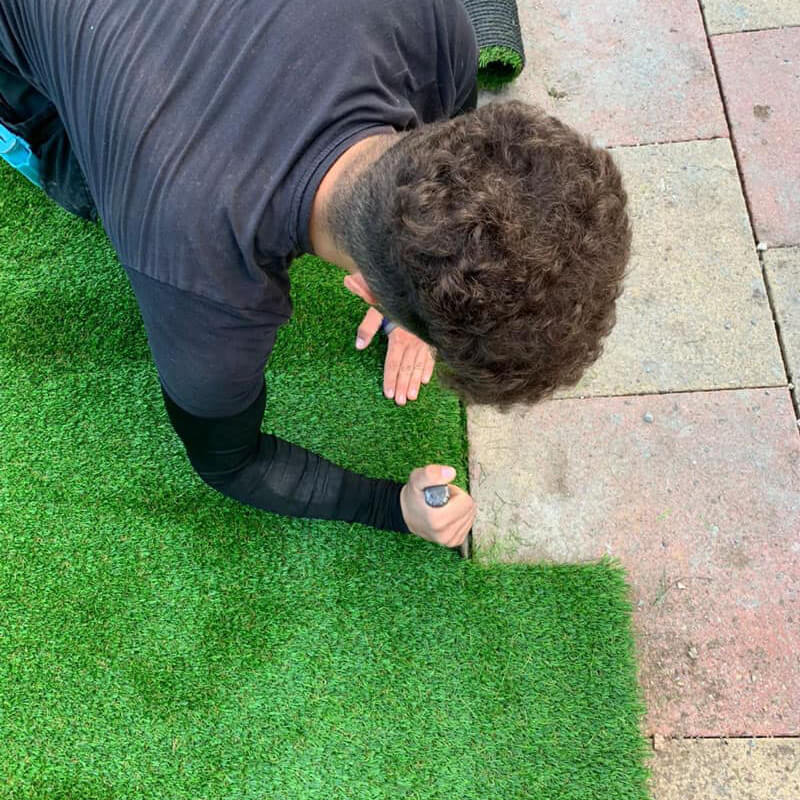
Once the Vertedge adhesive has been applied, carefully fold back the artificial grass.
Proceed to press the artificial grass around the perimeter ensuring good adhesive contact between Vertedge and the artificial grass backing.
Using a bolster and a rubber mallet, tuck down the artificial grass into the back edge gap between Vertedge and the perimeter finish to ensure your artificial grass is fully secured.
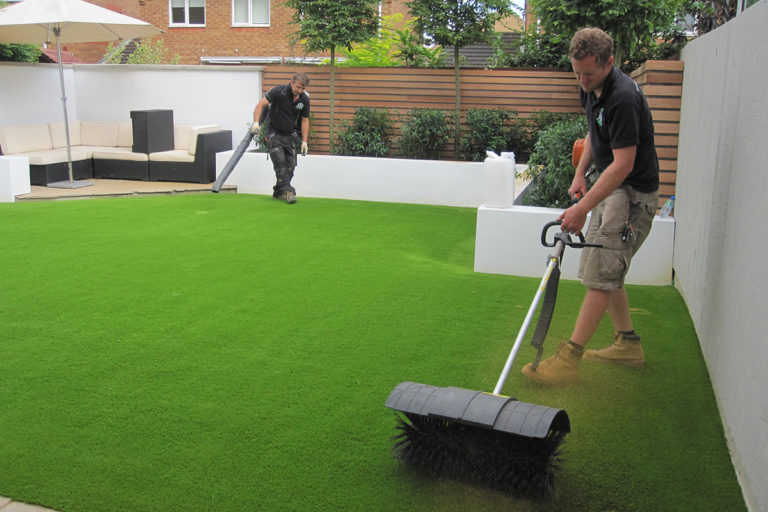
The artificial grass is now 100% fixed & secure around the perimeter, ready to be sand filled and brushed!
Free Technical Support
If you have any questions about fitting your own LazyLawn, our head office team are happy to help with any technical queries. Call us to talk through any tricky aspects on 0800 023 2343.
For more information on how to install artificial grass, please view our other installation guides or read this blog post containing important fitting advice about how to install artificial grass.
Installing VertEdge with Quick Set Cement
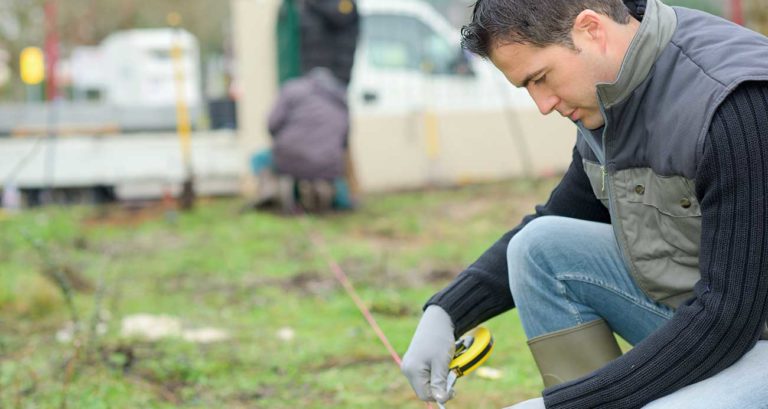
Step One: Prepare the Area
Remove the existing turf lawn and excavate the area to a depth of around 75mm – 100mm depending of the artificial grass thickness and ground conditions.
Install a geotextile membrane over the entire area.
Step Two: Spreading the Cement
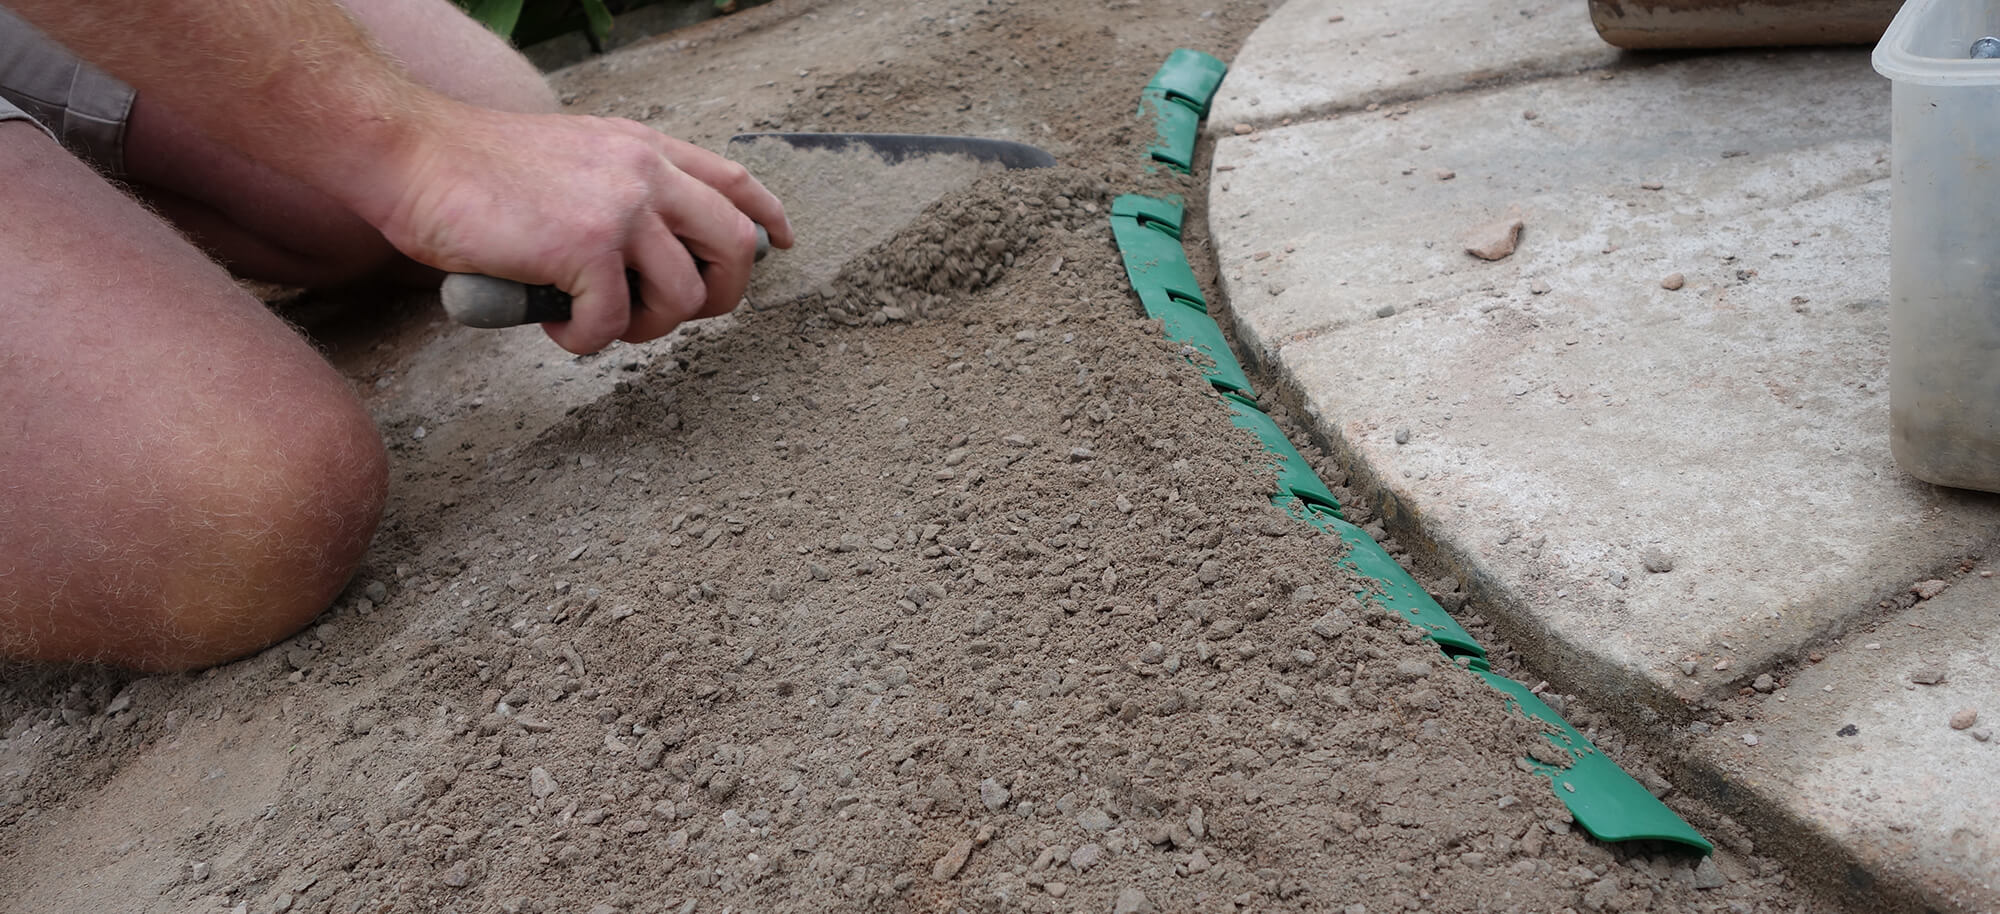
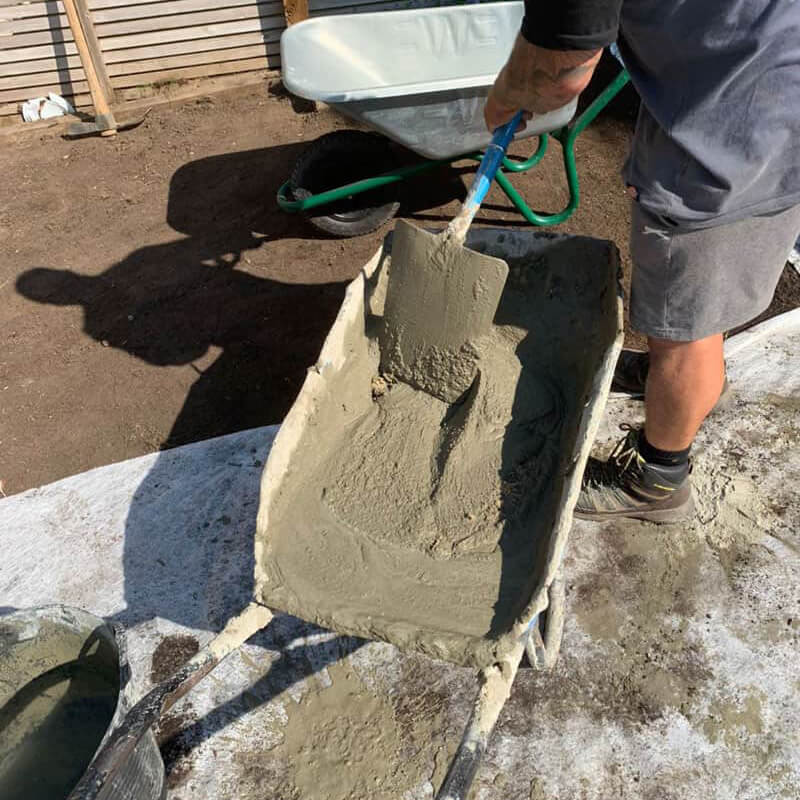
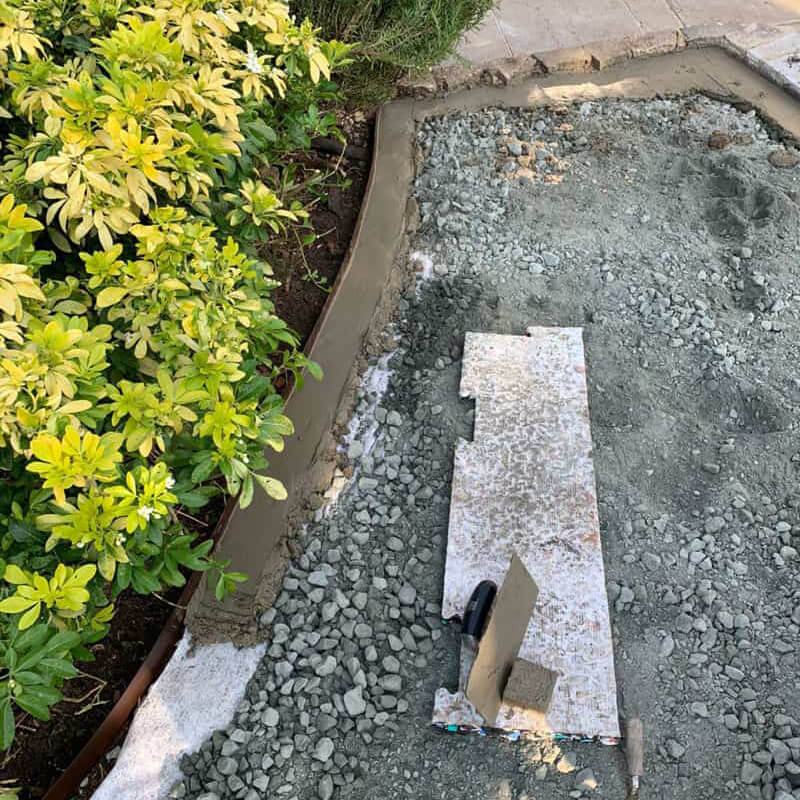
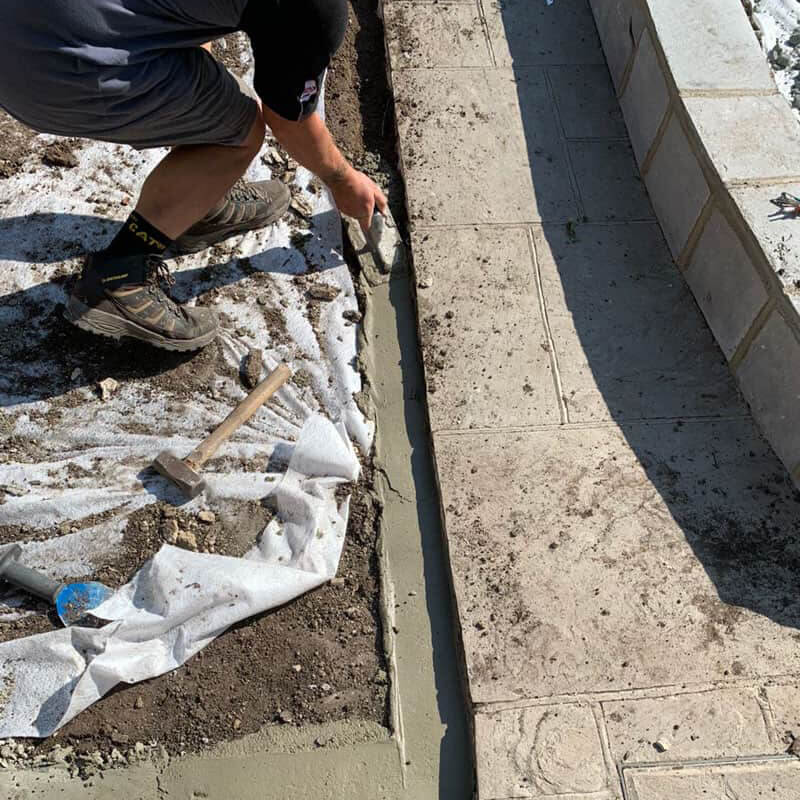
Mix a quick set cement with sharp sand @3:1 ratio
Using a screed trowel spread the cement around the perimeter of the area approximately 100mm wide and a minimum depth of 50mm, (if perimeter finish heights need to be brought up, lay down type 1 mot first, to the required depth then put the cement over the type 1 mot. ensure the cement has a smooth finish.
Note: When finishing against paving or a patio etc, set the cement level below the finish height at the same depth as the grass thickness.
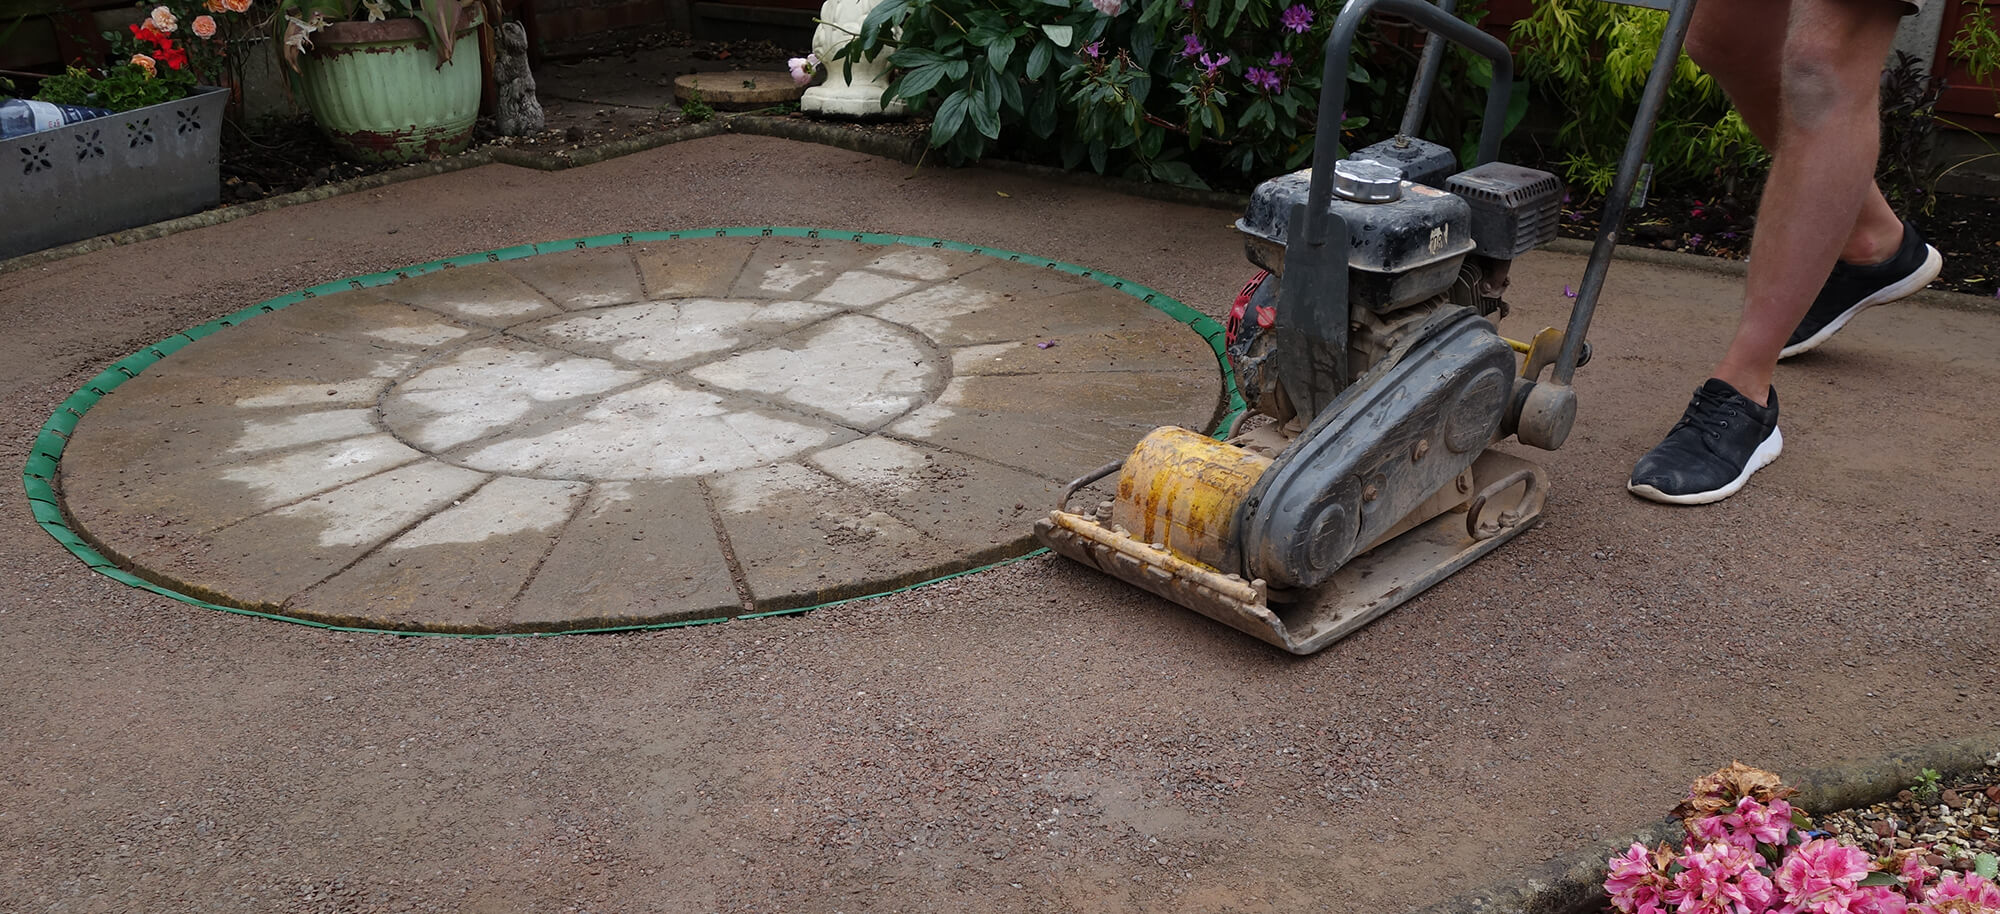
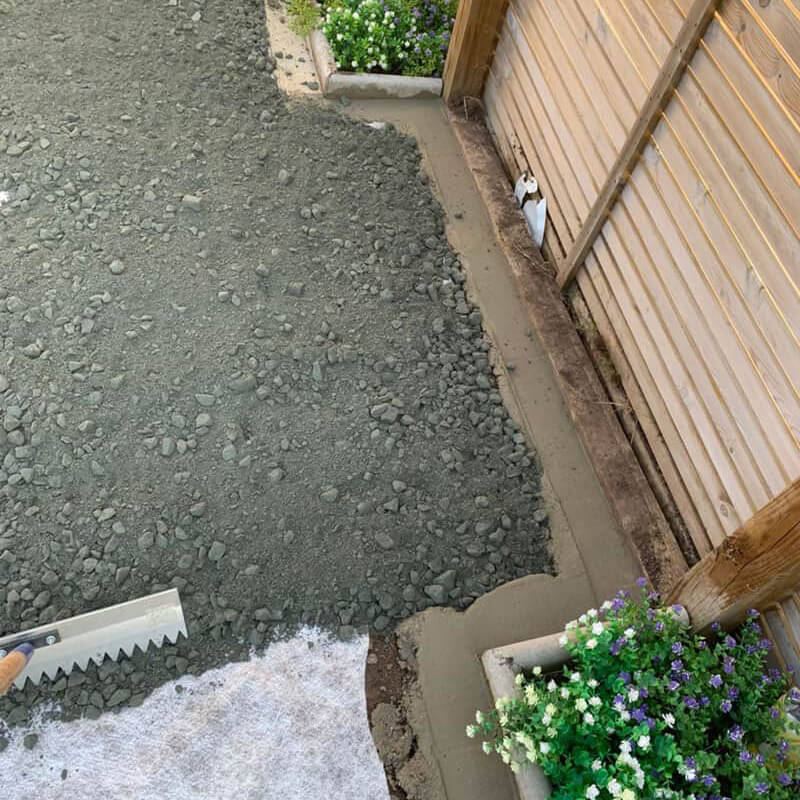
Step Three: Install Type One MOT Stone
Apply a Type 1 MOT aggregate over the entire area and up to the cement border to a depth of around 50mm – 100mm depending on cement finish height and ground conditions, rake out to create an even surface. Compact aggregate with a vibrating compactor plate machine. Areas not accessible to the compactor machine should be compacted with a heavy tamper.
Once the Type 1 MOT is compacted, Vertedge is ready to be installed.
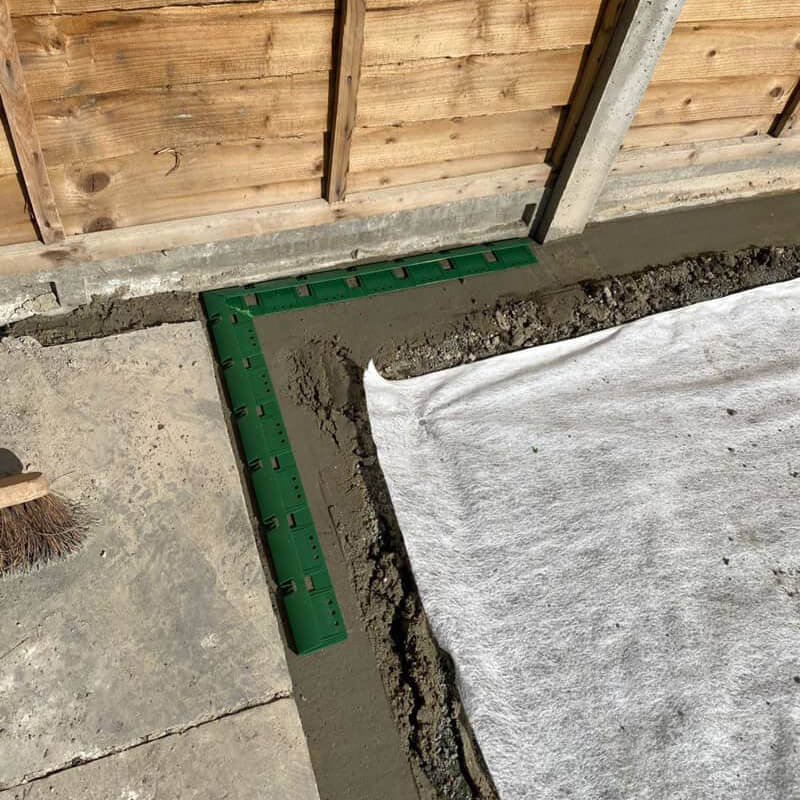
Step Four: Install The VertEdge
Starting from the corners, cut & mitre Vertedge using a hacksaw and a mitre box or a cordless mitre saw, or a multi tool with a plastic segmented blade, always start from a corner working towards the centre of a side, then cut Vertedge once the 2 pieces meet.
Once vertedge has been mitred and cut to the required lengths, apply a 3-5mm bead of Vertedge adhesive to the bottom/underside base section.
Turn Vertedge over and press into postion, leaving a 10-15mm gap at the front edge.
When installing Vertedge up to a curved finish, simply cut out the thinned-out tabs/sections in front of the V hinge with sharp tin snips. This will allow Vertedge to form to any curve/radius required. Take out the tabs as required to suit each curve/radius.
Step Five: Adding Granite 6mm-Dust
Once Vertedge has been installed around the perimeter of the area, proceed to apply the 6mm to dust granite layer.
Rake out the granite over the entire area pushing the granite stone in to the Vertedge cavity, it is recommended to mix cement dust with the granite stone (ratio 4:1) for the section covering the base of Vertedge (around 100mm from the cavity) bringing the dry granite mix flush with the back of Vertedge leaving the top section exposed.
Compact the granite. More granite may need to be applied once compacted to ensure the granite is flush with the back edge of Vertedge.
Step Six: Laying the LazyLawn
Lay out the artificial grass and leave to relax.
Cut the artificial grass around 5-10mm over the finish edge/fence/wall etc.
Using the specialist VertEdge adhesive, apply a 3-5mm bead of adhesive on the exposed top section of VertEdge around the whole area.
Once the VertEdge adhesive has been applied, carefully fold back the artificial grass.
Proceed to press the artificial grass around the perimeter ensuring good adhesive contact between VertEdge and the artificial grass backing.
Using a carpet bolster, tuck down the artificial grass into the back gap between front edge of VertEdge and the perimeter finish.
Finishing Touches
The artificial grass is now 100% fixed & secure around the perimeter, ready to be sand filled and brushed.